No products
accessories decals & others
Viewed products
-

pure turpentine
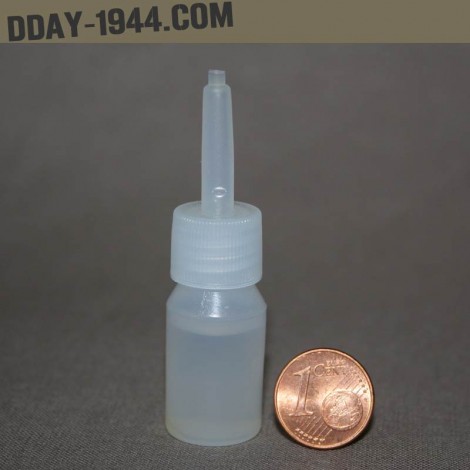
pure turpentine bottle capacity 3ml...
 View larger
 More info
pure turpentine
only for glue resin.
This is pure turpentine, without addition of solvent. There is no risk of damaging decals or paintings on helmets by using it.
The turpentine is used to clean excess adhesive resin 'perfect replica' around a decal when freshly laid. It also keeps the adhesive resin in a liquid state into the bottle.
The turpentine evaporates naturally from the bottle after several weeks of storage. Storage time in the original bottle: several weeks. Transfer to a glass bottle to prevent evaporation.
The bottle contains 3 ml + or 10%, allowing you to clean very many decals bonded with adhesive resin.
====== instructions =======
This adhesive resin 'perfect replica' is exactly the same glue that was used for apply decals in factories of German helmets.
Materials needed: a small brush, water, a wet sponge, cloth and turpentine.
CAUTION do not confuse gasoline with turpentine and turpentine.
You need pure turpentine.

If you then want your old your decals, know that this is long glue to harden under the decal . Wait 7 to 10 days before the start aging, it's better.
1

You apply a thin layer of adhesive resin, do not be afraid to extend well beyond the dimensions of the decal.
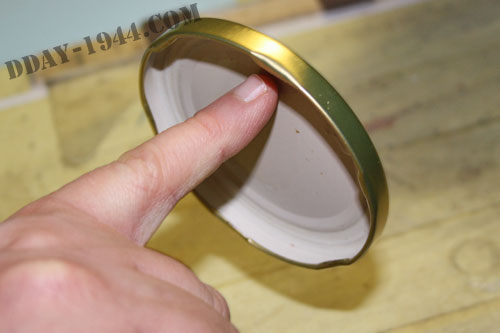
At the same time , you also put glue resin on any item, here a lid. It will serve as a witness to see when the glue becomes very sticky.
You also put the decal twenty seconds in water and then you put it flat.


===================================
2

We must apply the decal at the right time. The glue is a natural resin diluted with turpentine. When turpentine evaporates, the resin will become sticky.
The resin is sticky when put a little stronger finger. so you have to wait while evaporating the turpentine will make the resin more sticky, we see it if we put the finger without pressing.
Then the resin will become less sticky if the finger is placed, but she will remain tacky if the finger seconded above. it is at this point that we must place the decal.


With the help of the paper decal, plate the decal chasing any air bubbles and water.

You should get this result. The hardest part is done! You notice the excess glue around the decal. This is quite normal. For the moment we let the glue dry, we will remove it without problem in a few hours.
=====================================
3

After a few hours, the glue is dried around, so we will remove it.
just pass a brush soaked in turpentine to dissolve the glue .
Then you place a wet sponge to clean.

A slight rub. Do not press too because do not forget the glue under the badge is still soft .

the final result: a perfectly applied decal, well bonded to the helmet and without any trace of glue.


